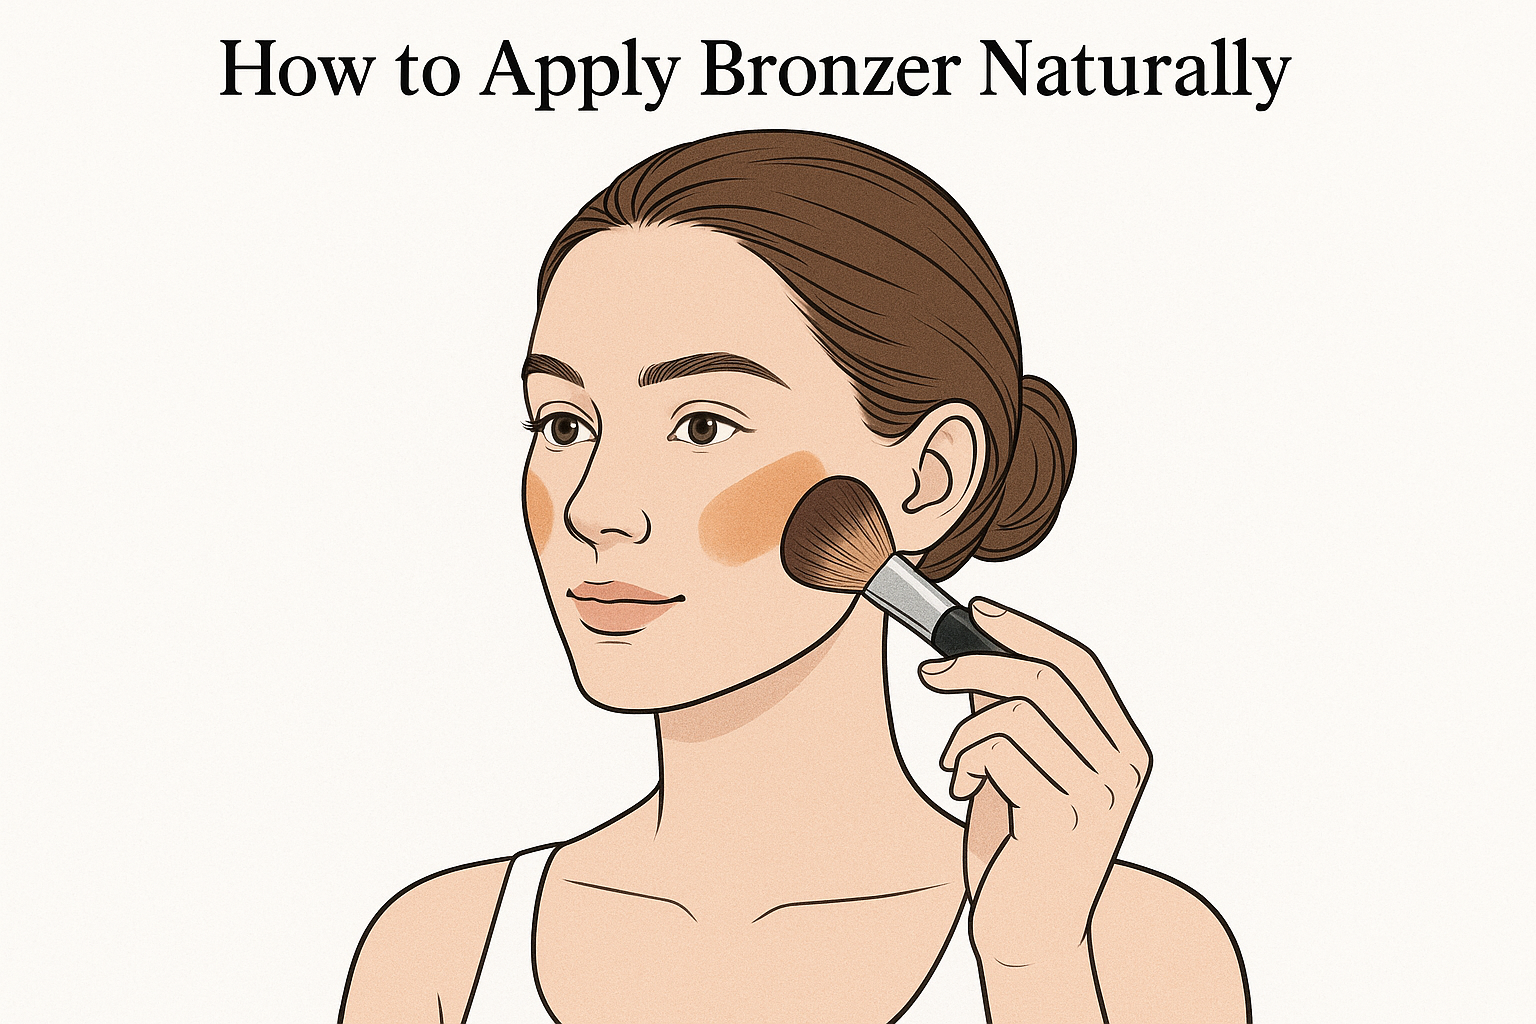
Quick Answer: To apply bronzer naturally, use a large fluffy brush with a light hand, focus on the high points where sun naturally hits the face (forehead, cheekbones, nose bridge), and build gradually — less product and more blending always produces a more natural result.
If you want bronzer to look natural, the secret is simple: use the right shade, apply less than you think you need, and place it where the sun would naturally hit your face. The goal is not to create obvious stripes or heavy contour. It is to add soft warmth and dimension so your skin looks healthy, rested, and subtly sun-touched.
This guide explains exactly how to apply bronzer naturally, including where to place it, what tools to use, and the common mistakes that make bronzer look fake.
Start With the Right Bronzer Shade
Natural-looking bronzer begins before application. If the shade is too dark, too orange, or too red for your skin tone, even perfect technique will not fully save it.
Choose a bronzer that:
is only slightly deeper than your natural skin tone
matches your undertone reasonably well
has a soft matte or satin finish for everyday wear
builds gradually instead of applying too intensely
For many people, neutral bronzers are the easiest to wear naturally. If you are very fair or cool-toned, a softly cool bronzer may look more believable than a warm golden one.
Pick the Best Tool for a Soft Finish
Fluffy brush for powder bronzer
A fluffy bronzer brush diffuses color across the skin so you do not get harsh edges. Dense brushes can apply too much pigment in one area.
Sponge or stippling brush for cream bronzer
If you use cream bronzer, a damp sponge or stippling brush helps press the product into the skin rather than smearing it across the surface.
The tool matters because natural bronzer should look blended into the complexion, not painted on top of it.
Where to Apply Bronzer for a Natural Look
Think about where the sun would naturally touch your face first. That is where bronzer belongs.
Temples and upper forehead
A light sweep around the temples and near the hairline adds believable warmth.
Outer cheeks
Instead of dragging bronzer toward the center of the face, place it around the outer perimeter of the cheeks and blend upward.
Jawline
A small amount around the outer jawline can tie the look together, especially if your face and neck need a little balance.
Bridge of the nose, very lightly
A tiny touch across the bridge of the nose can make the look feel more sun-kissed, but this step is optional.
The Easiest Natural Bronzer Technique
Many makeup artists use a loose “3” shape on each side of the face.
The 3-shape method
Sweep bronzer:
across the temple and upper forehead
around the outer cheek area
lightly along the jawline
This placement creates warmth around the perimeter while leaving the center of the face brighter and fresher.
How Much Bronzer to Use
Less is almost always better at first. Tap excess product off your brush, then build in thin layers. It is much easier to add more bronzer than to fix a muddy application.
A natural bronzer look should be noticeable only in a flattering way. People should think you look healthy or well-rested, not wonder what is on your cheeks.
How to Blend Bronzer So It Looks Like Skin
Blend upward and outward
This keeps the face lifted and prevents bronzer from gathering too close to the nose or mouth.
Soften the edges
After applying, go over the edges with a clean brush or sponge. This step makes a huge difference.
Connect with blush if you wear it
Bronzer and blush should blend softly into each other rather than sit as separate blocks of color.
Common Bronzer Mistakes That Look Unnatural
Using bronzer as contour
Bronzer adds warmth. Contour adds shadow. If you place bronzer too low under the cheekbones, it can look muddy.
Choosing a shade that is too warm
Orange bronzer is one of the fastest ways to lose a natural finish. Neutral or softly warm shades are usually more forgiving.
Applying too much product at once
Heavy bronzer rarely looks effortless. Build slowly.
Bringing bronzer too far inward
The center of the face should usually stay lighter. Keeping bronzer on the outer areas makes the look fresher.
Powder vs Cream for the Most Natural Finish
Both can look natural. Powder bronzer often gives a softer, suede-like blur, while cream bronzer can look very skin-like and fresh. If you want a polished soft-focus result, a suede-finish bronzer is especially good because it warms the skin without obvious sparkle.
FAQ: How to Apply Bronzer Naturally
Where should bronzer go for a natural look?
Bronzer should go on the temples, upper forehead, outer cheeks, and lightly around the jawline because these are the areas the sun naturally hits.
Should bronzer go under cheekbones?
Usually no, not if your goal is a natural bronzed look. That placement is more contour-like and can look muddy.
What type of bronzer looks most natural?
A buildable bronzer with a soft matte or satin finish usually looks most natural for everyday makeup.
How do I keep bronzer from looking patchy?
Use a smooth formula, apply with a fluffy brush or sponge, work in thin layers, and blend the edges well.
The Sun Map Method for Natural Bronzer Placement
The most useful concept for natural bronzer application is the “sun map” — mentally tracing where sunlight would naturally hit your face if you were outdoors. Sunlight comes from above and catches the highest points of the face first: the center of the forehead, the top of the cheekbones, the bridge of the nose, and the tip of the chin. These are exactly where bronzer should go for a natural-looking result.
The hollows of the cheeks, the temples, and the under-jaw get bronzer for a contouring effect — which is a different goal from natural bronzing. Natural bronzing and face contouring are related but distinct techniques.
Brush Selection and Loading Technique
Large dome brush: Best for natural bronzer application. The dome shape deposits product across a wide area and blends simultaneously as you sweep.
Fan brush: Creates a very light, diffused application — good for layering on top of foundation when you want the subtlest possible warmth.
Angled contour brush: Better for contouring than natural bronzing — the defined shape deposits product more precisely but requires more blending to look natural.
Loading technique: swirl the brush lightly in the product, tap the ferrule gently against the back of your hand, and begin application with light pressure. The first stroke should almost disappear into the skin. Build from there.
The 3-2-1 Bronzer Rule
A simple framework for natural bronzer placement:
3 sweeps across the forehead (left-to-right, then right-to-left for blending, then a final light pass)
2 sweeps on each cheekbone (one upward, one to blend at the edges)
1 light sweep across the nose bridge
This produces a light, even warmth that looks like you spent a weekend outdoors rather than like you applied a distinct layer of product.
Key Takeaways
Natural bronzer application mimics where the sun actually hits the face: forehead, tops of cheekbones, nose bridge, and chin — not in the hollows or on the full cheek.
A large, dome-shaped fluffy brush deposits product most evenly and blends automatically as you sweep.
Start with less bronzer than you think you need and build gradually — 30 seconds to add more but much longer to remove excess.
Tap the brush gently before applying to remove excess powder and prevent over-application from the first stroke.
Blend the edges of bronzer into the hairline and jaw with a clean brush to avoid visible product lines.


Leave a Reply